How To Make Advanced Latte Art #fypviral #foryou #trending #latteart #barista #cafe #tipsandtrick
Creating rose latte art requires practice, steady hands, and good milk frothing techniques. Here are some tips and tricks to help you master it:
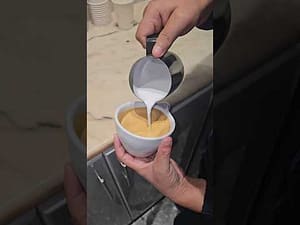
### **1. Milk Frothing**
– **Use Fresh, Cold Milk**: Whole milk works best for creating smooth microfoam.
– **Steam to the Right Temperature**: Aim for 55-65°C (130-150°F). Overheating ruins texture.
– **Incorporate Air Gradually**: Start with the steam wand tip just below the milk’s surface, then submerge slightly for a silky consistency.
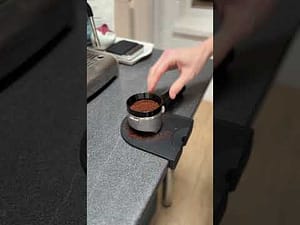
### **2. Proper Espresso Base**
– **Use a Rich Espresso**: A well-extracted espresso with a good crema helps the design stand out.
– **Avoid Excess Bubbles**: Tap and swirl the milk to remove bubbles before pouring.
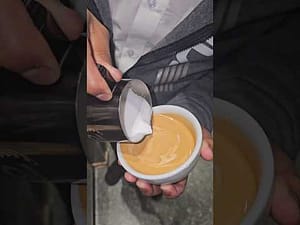
### **3. Pouring Technique**
– **Start with a Base Layer**: Pour slowly from a few inches above the cup to mix milk and espresso evenly.
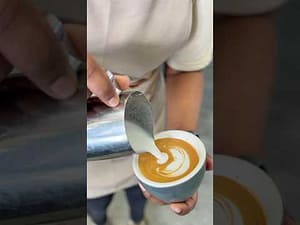
– **Shape the Petals**: Move the pitcher back and forth while pouring in the center.
– **Create the Stem**: Drag the pitcher in a straight line at the end to add a finishing touch.
### **4. Etching for Detail**
If free pouring doesn’t create the exact rose shape you want, use a latte art pen or toothpick:
– Draw petal outlines gently using the crema and microfoam.
– Create depth by swirling milk in different directions.
### **5. Practice & Experiment**
– **Try Different Cup Sizes**: A wider cup gives more space for detailed designs.
– **Use Food Coloring or Chocolate Syrup**: For additional contrast in the rose shape.
#latte art tutorial
#coffee
#how to latte art
#latte art heart tutorial
#latte art tutorial beginner
#latte art designs
#latte art mistakes
#coffee latte art
#latte art patterns
#coffee art for beginners
#basic latte art
#latte art guide